Creating a Service Account Key
This page describes how to generate and install a Service Account Key. A service account key is a sort of “passport” that your code can use to authenticate itself during communication with Google’s Cloud services.
You can also provide Caliban with a service account key via the --cloud_key
flag. If you do, Caliban will use this service account to authenticate itself
with AI Platform when submitting jobs. (You would do this if you wanted to
submit to some project you didn’t own, for example.)
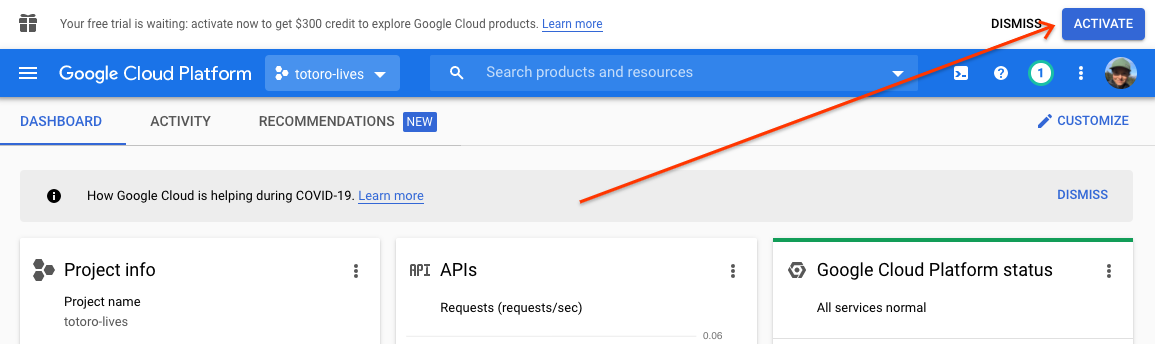
To create a service account key, visit the Service Accounts page and select the project you created earlier.
Click “Create Service Account” at the top of the page:
At the next form, under “Service Account Name”, type something like totoro_key and click “Create”.
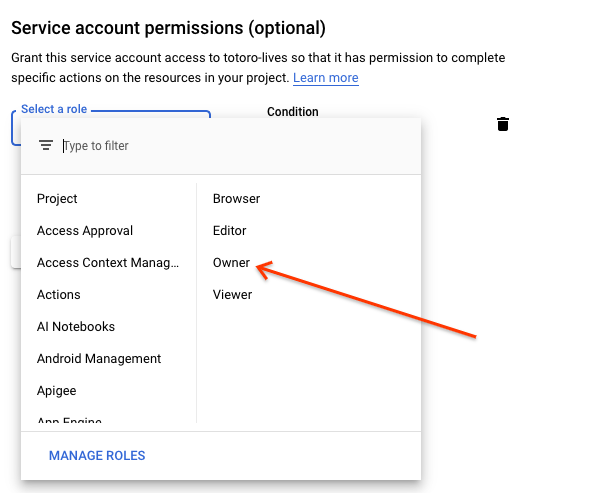
This will bring up a page titled “Service Account Permissions”. Select Project > Owner from the list:
Then click “Continue” and “Done”. You now have a service account. You’ll need to download it to your machine for Caliban to use it.
Downloading the Service Account Key
Click on the hyperlinked name of the key - something like
totoro-key@totoro-lives.iam.gserviceaccount.com - in the service accounts
list.
Near the bottom of the page, click “Add Key” > “Create New Key”:
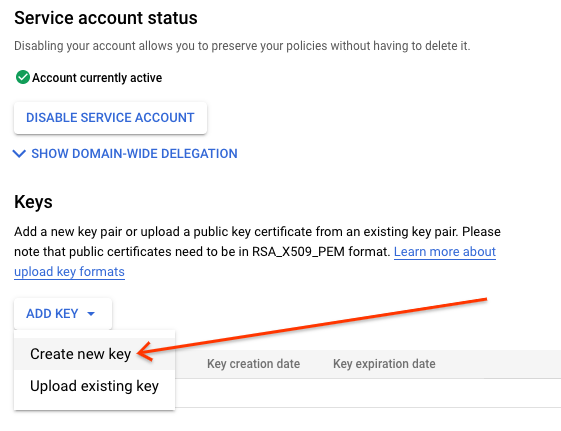
Select “JSON” for key type and click “Create”. This will download a file
with a name like totoro-lives-3df07b8c97a0.json to your machine.
Find the file in your terminal (probably in your Downloads folder) and run the following command to move it to a nice, easy to read location:
mv [NEW_FILENAME].json ~/.config/service_key.json
To make this key accessible to Caliban, you’ll need to set a variable called
GOOGLE_APPLICATION_CREDENTIALS in your shell to the path of your new service
account key. Add the following line to your ~/.bashrc:
export GOOGLE_APPLICATION_CREDENTIALS=$HOME/.config/service_key.json
If Caliban sees this environment variable set, it will go ahead and bake these credentials into your container, making them accessible to your code even inside the Docker environment.